Wednesday 27 March 2013

Leviathan Commision - Done

Man this is a fun model! The scale of it is immense. A real pleasure to work on a rare piece like this, you don't see scratch build/kit bashes of this quality very often. 

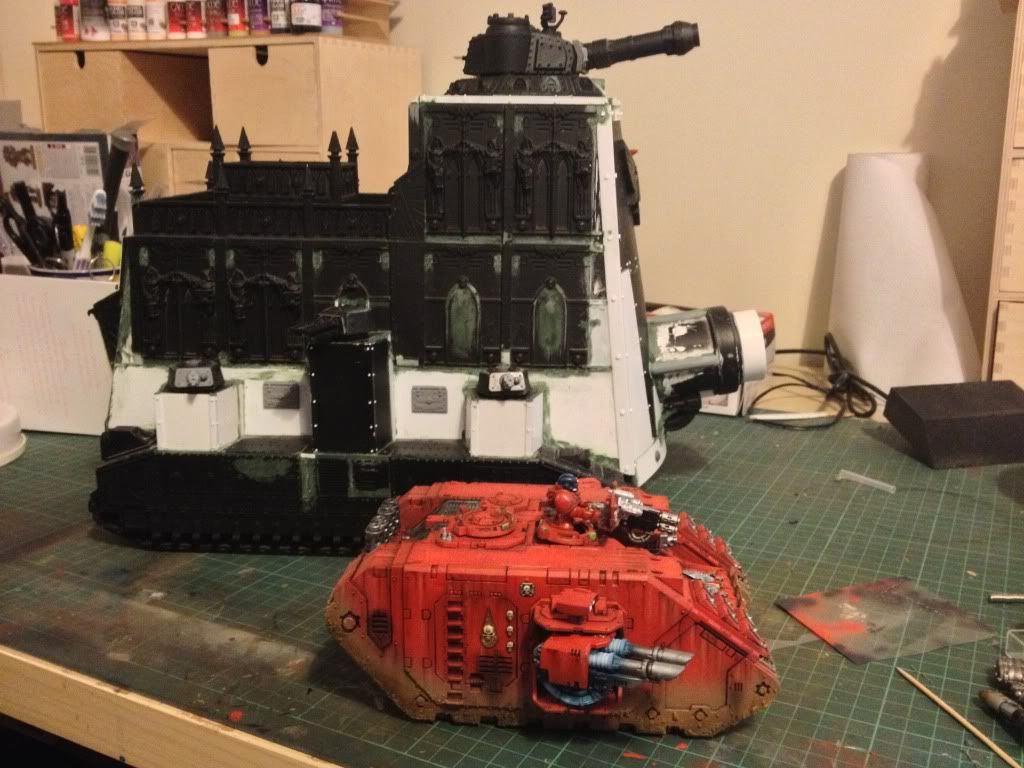
So the clients request was essentially to get the main block colours down so they can work on the detail. The airbrush makes this a relatively simple job although getting smooth even coverage over a large flat surface does take some time to learn. 

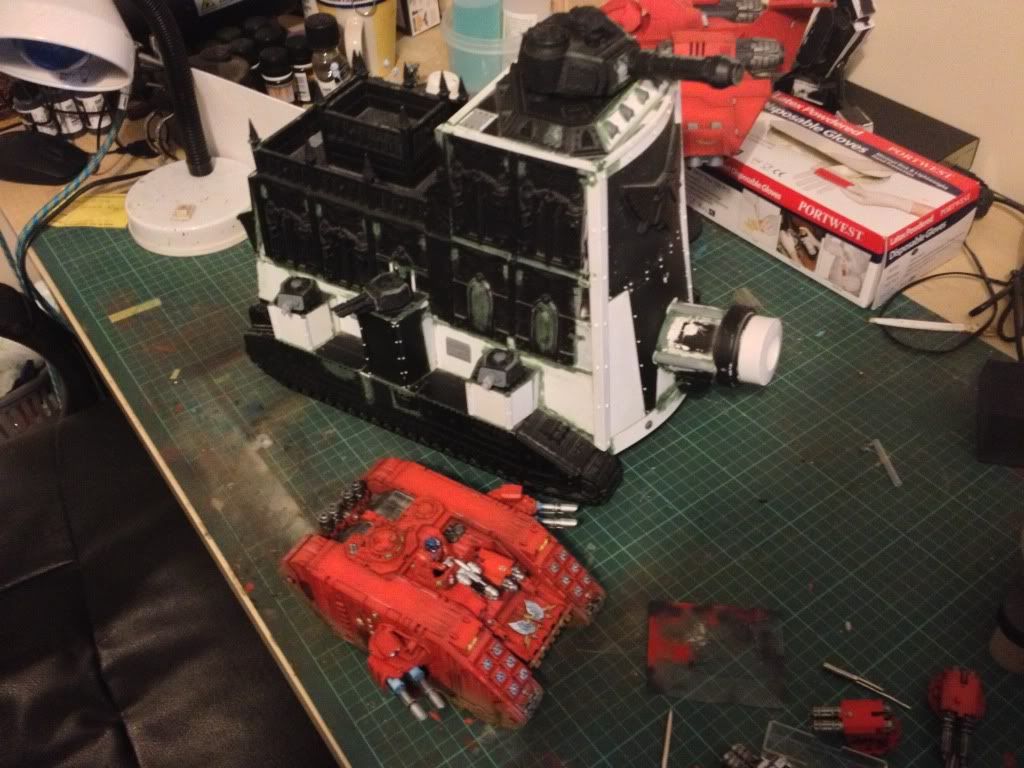
So it was as close as I could get to Codex Grey for the main colour with Gun Metal Grey for the metallics. I used Vallejo Game Colour Cold Grey (very well thinned down) and Vallejo Air Colour Gun, highlighted with Vallejo Air Colour Steel. The Cold Grey was laid down from from an angle so as to leave some shadows in the recess, particularly around the statues and windows on the superstructure.

[slight aside]
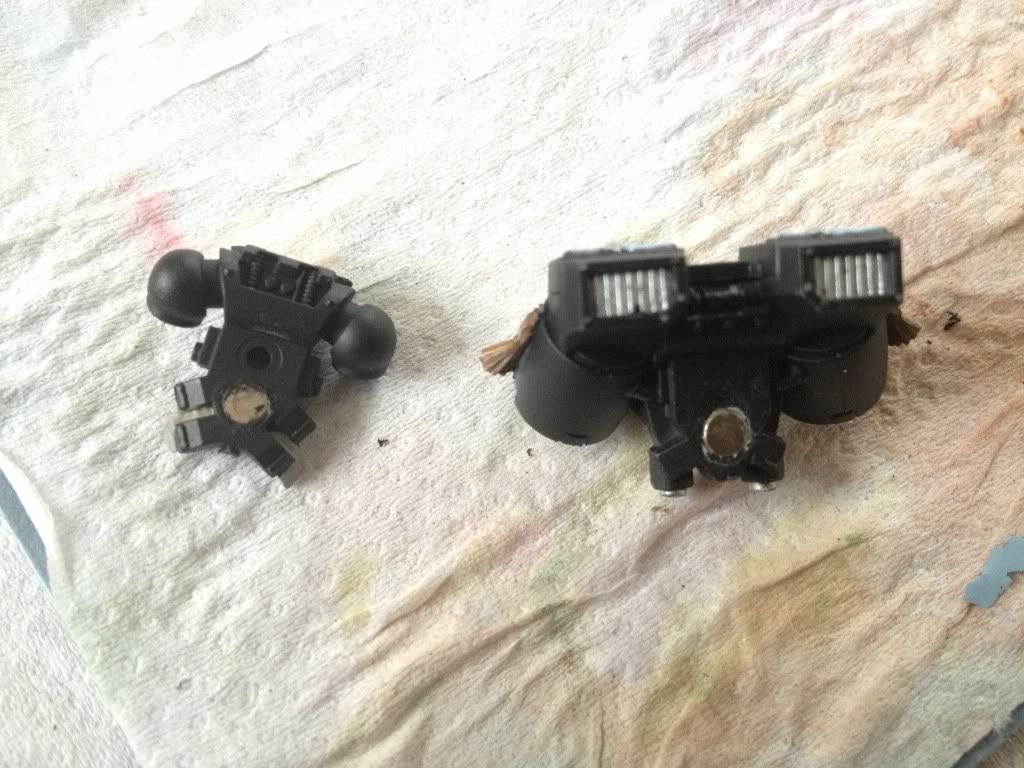
I have had gone through a couple of pots of the VAC Gun and Steel since I bought my airbrush. I have to say that unlike the rest of the Vallejo Air Colour range. Their metallics are quite fussy about going through my Iwata HP-C. I have to thin them down considerably. Anyone else experience this?
[/slight aside]

So that was all the client needed. However.....

As usual I couldn't help myself and had to do just a little bit more. It seemed a shame to have such a nice huge bore gun sat there with no kind of weathering on it....so I have airbrushed a blended up layer of sepia wash (made using Les' from Awesome Paint Job's mix) and then an extreme airbrushed edge of some GW Leviathan (ironically enough) Purple wash. This gives that really nice scorched patina you get from repeated application of heat around a barrel. I finished off the very edge with Tamiya Weathering Master series compacts Soot, Gun Metal and Silver. These really are a superb series of products and I would strongly recommend you pick these up if you are into your weathering.


Now taking pictures of this beast was a little tricky. It was somewhat bigger than my light tent will allow for so these are just taken on the table. Hope you enjoy.


Friday 22 March 2013

Commission time - Leviathan

OK so my Blood Angels are finally finished. Two years of work and MANY revisions of the paint scheme later and I am really happy with them. Proper pics will come soon just as soon as I get a day with some decent sunlight....not sure if you are all familiar with the average Devon spring time....this might take a while!

In the mean time a friend of mine Col Gravis has asked me to do some work for him on his Leviathan. He has been scratch building this for......well as long as I have known him now :) and has a campaign weekend coming up that he would like it ready for but doesn't have the time to do himself as he is currently redoing his really rather pretty Praetorian Imperial Guard army, saw a sneak preview last night and they are looking superb.

So over to the airbrush it will be to get the main colour down for him.

Here are a few quick photos taken this morning to give you an idea of the scale of this tank. My Land Raider is dwarved by it!!


Monday 18 March 2013

Curious Constructs 28mm Iron Horse Bike

Today's post is a shout out.

A friend of mine produces a great line of Colonial Empire style 28mm figures. He has just launched a 28mm bike unit, the Iron Horse Bike and Iron Horse Bike Squadron. 

Swing by http://curiousconstructs.theslowcentury.com/ocart/index.php?route=product/product&product_id=72  and look at the previews.


Tuesday 12 March 2013

Death Company WiP - washes finished

Satin varnish then oil washes went on last night. The effect brings out the parchment and skulls very nicely. I will probably go back and apply a light bleached bone glaze to the highlights on the skulls to make them pop. The wings where also given a very well thinned blue wash as well. The desired effect is to have the wash so thin that capillary action does the work in adding more shade into the recesses. Works nicely on top of the painted blending.


Monday 11 March 2013

Death Company Magnetised Backpacks and Jetpacks WIP

Managed to pick up a couple of death company boxes at a local outlet that normally gives 10% off GW anyway but in January also does 15% off everything in store on certain days. 10 man death company squad for just over £30.....that is almost value for money!

Anyway, wanted to get the most out of the box sets I have magnetised the backpacks and the jump packs so they can be used in either configuration. I love the fluff behind death company and the models look fantastic, the detail level is brilliant.

So we have the squad work in progress pic


And a couple of pics of the magnets.


The magnets are usual miniature modelling rare earth magnets. I bought mine a few years ago from http://e-magnetsuk.com/ The service from them was excellent, I have ordered several sets from them and they always arrived the next day. What is nice is that I am seeing them more frequently in local hobby stores now so the availability certainly in my area at least is more main stream these days. The processing of fitting the magnets was rather fiddly. 

For the position on the figure body I cut off the nub that would usually glue into the backpack or jump pack and then very carefully drilled a 1mm pilot hole using a pin vice in the middle of where that nub used to be. I actually used a seam scraping tool as a reamer to position where I wanted the pilot hole. I then drilled using a 3mm bit (size of the magnet) and set the magnet using superglue making sure all the polarities where the same. 

The magnets I used actually fitted perfectly inside the backpack as though they had been designed to go there. The jumppack required more work however. The entire recess that would usually house the plastic nub was filled with Vallejo model putty and allowed to cure thoroughly. This had to be repeated in a few stages adding a bit more putty each time to allow a proper cure. I then repeated the process used on the main body by drilling a pilot hole then a 3mm hole before gluing the magnets in place making sure the polarities corresponded to the main body. It was a fiddly process but worth doing to get the versatility of having both options.


The squad should be finished in the next couple of days so stay tuned for some finished pics.